31 Januar 2014

Get Crafty! [Valentine´s Day Gift Bags]


Hei, today I want to show the gift bags I made for my sweet friends, who will come next saturday to visit me and my boys. I just love all the sweet colors and the pink goes really good with the chalkboard black, all papers and embellishments are from the latest collection "Yours Truly" by Pebbles. I am in love with the beautiful collection!


I made the gift bags with the Gift Bag Punch Board by We R Memory Keepers. Love that tool! Its so easy to create a project within minutes. I dressed the gift bags up with some cute tags, die cuts and stickers. To give the tags some dimension I used these pink dots. I closed the gift bags with coordinated ribbon in pink and these cute binder clips by American Crafts.


I hope my friends will love these gift bags!

30 Januar 2014

Scrapbook Your Kit - January [Jardin del Cactus, Gofio Mühle]

Hei! Today I want to show you 2 pages about the Jardin del Cactus. The Jardin del Cactus is a park near the small community Guatiza that is located in the northeastern part of the municipality of Teguise in the northeastern portion of the island of Lanzarote.

The famous attraction called Jardin del Cactus was once created by César Manrique and is located on an old crater which is extracted from the volcanic soil.


The famous Gofio windmill is located at the back of the park. Gofio is the Canary Islands name for flour made from roasted grain. Gofia has been an important ingredient in Canarian cooking for some time.


I just love this bright green and it fits the theme very good. At monday I will show more places created by César Manrique.

29 Januar 2014

Scrap Your Kit - January [Love My Two Kids]


Hei and welcome to the scrappy mermaid, the only mermaid on earth with this fabulous hobby! I want to show you more pages with the january scrapbook kit "Copper Mountain" and add on "High Point" by Studio Calico. 

This page is made with all the leftovers and I had so much fun creating it. I was looking for some inspiration in the Gallery over at Studio Calico and I found two pages with this circle motiv. Its a fun design and the smaller photos of my two boys fit in the circle perfectly.


I used some scraps for the background and uses all the small chip board circles, enamel dots and hearts from the kit. The background is stamped with lots of camera stamps that came with the kit and the add on. Love it!


The flairs give the page some sort of dimension. I still love flair badges and these two came in quite handy!


Tomorrow I will show you some pictures of the wonderful place called Jardin del Cactus. I made two layouts to tell the story. So stay tuned and return back tomorrow! Happy scrappy times!

28 Januar 2014

Scrap Your Kit - January [Fun @ Papagayo Beach]


Hei and welcome back to my blog! I promised you to show more pages with the scrapbook kit "Copper Mountain" and add on "High Point" by Studio Calico.
So here is my second layout with all the gorgeous papers and embellishments.


It was way to dangerous for swimming in the North Atlantic Ocean one day, so the boys just watched the waves and played in the white sand.


I love the bright colors and the happy feeling of the page. It was indeed a sunny and happy day. We had a lot of fun at the Papagayo Beach.


27 Januar 2014

Scrap Your Kit - January [This Is Not America...]


Hei and welcome back to my scrappy blog! Today I want to show you one of my latest scrapbook layouts I made with the fantastic scrapbook kit "Copper Mountain" and add on "High Point" by Studio Calico. I just love the bright colors and the patterns of the papers are just gorgeous! The embellishments are perfect for my pages.

As you might know, did we have a fantastic vacation on the Canary Island Lanzarote during Christmas. This was one of our best vacations ever and I had to scrapbook all my memories.


I lifted a page by Celine Navarro, I just love her funky style. I choose two pictures of the most beautiful beach at Lanzarote.


I really had fun with this scrapbook kit and scrapped more than 12 layouts with this particular kit. You will see more pages with it within the next 2 weeks! So stay tuned!

25 Januar 2014

Cardmaking - colorscheme [Valentine`s Day Cards]


Source: Pinterest


Pink, aqua and antique pink are my favorite colors this month. I love the pink chucks in the picture and I will definitely get these next summer. The hearts are perfect shapes for Valentine`s Day cards and the aqua colored macarons look delicious. One day I will make some myself and will post about them in my new series "Baking Stories" here on my scrappy blog! The color itself gives a nice contrast to all the different shades of pink! Here are my cards that I made after this colorscheme.


The collection "Yours truly" by Pebbles represents these colors very good. I made these cards with the beautiful papers and embellishments from this collection. I hope you like my Valentine`s Day cards. More of my Valentine`s Day cards can be seen over at the Pebbles Blog! Have a look!


22 Januar 2014

Cardmaking - Step-By-Step [Patchwork Styled Background]

Hei and welcome to my blog!
Today I want to show you how you can make an easy patchwork styled background with your scraps.
When it comes to scrapbooking and cardmaking you need lots of different patterned paper and most of the time you are left with a lot of scraps after crafting. I hoarded all these scraps but never used them. My goal for this year is to use up all my scraps. So I decided to make some cute patchwork styled backgrounds for small Valentine cards with some of my scraps from the beautiful new collection "Yours Truly" by Pebbles.


Step 1:
Use 4 inch x 6 inch white cardstock for the cardbase.

Step 2:
Fold the cardstock in half with the help of a scoring board.

Step 3:
Cut your scraps in small rectangles and squares.

Step 4:
Adhere the scraps to the frontside of the cards.


Step 5:
Cover the whole frontside of the card with rectangles and squares.

Step 6:
Make more cards.

Step 7:
Adhere some washitape to the background.

Your cards are now ready for further embellishing! Have fun!


19 Januar 2014

Baking stories [Chocolate Whoopie Pies With Rasberry Cream]

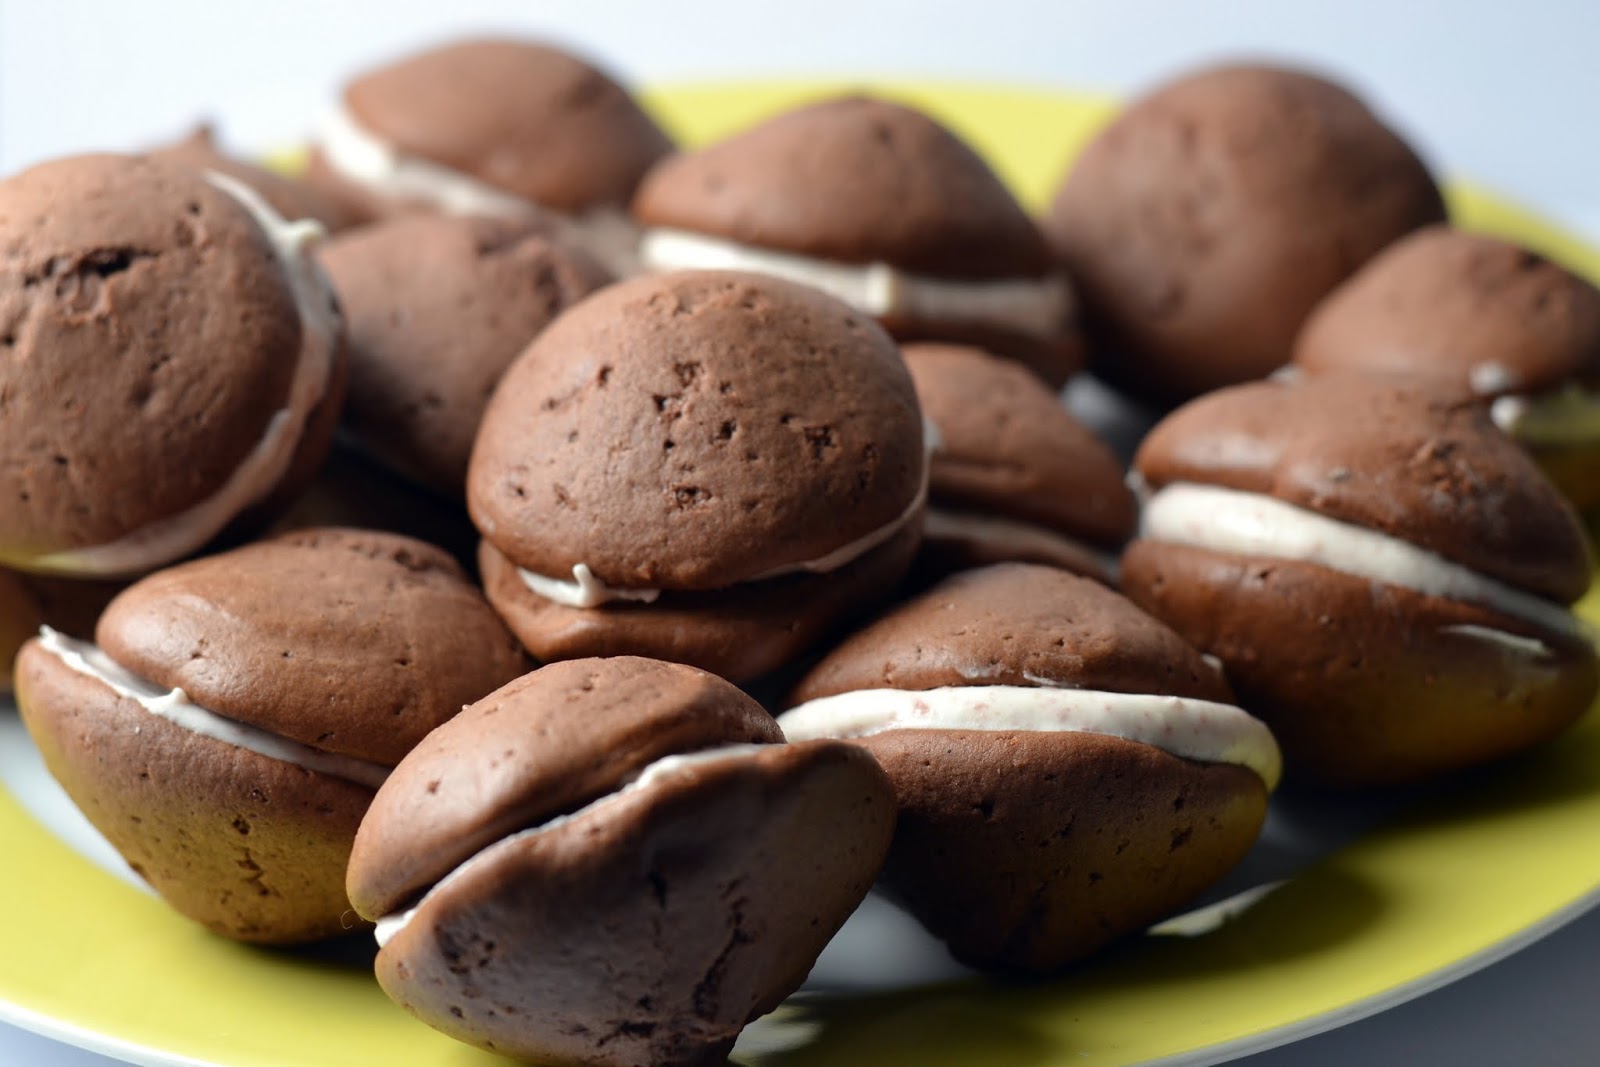
I decided to bake some chocolate whoopie pies with rasberry cream frosting the other day! It was the first time for me! Whoopie pies are fun and they taste really good! A whoopie pie is a pair of cake-like chocolate cookie with a fluffy, marshmellow filling. But I do not like marsmellows at all, so I made a rasberry cream cheese frosting instead. I found this gorgeous recipe for whoopie pies on the internet, baked these and filled them with a light cream cheese frosting after this recipe.

Chocolate Whoopie Pies

1 3/4 cups all purpose flour
1 tsp baking soda
1/2 tsp salt
1/2 cup butter, room temperature
1 cup sugar
1 large egg
1/2 cup unsweetened cocoa powder
1 tsp vanilla extract
1 cup milk

Preheat oven to 375F (190 °C).


Line a baking sheet with baking paper.
Whisk together flour, baking soda and salt in a medium bowl.
Cream together butter and and sugar until light in a large bowl.
Beat in egg, followed by cocoa powder and vanilla extract.
Mix until everything is well combined.
Stir in half of the flour mixture, followed by the milk.
Stir in the remaining flour mixture, mixing until no streaks of dry ingredients remain and batter is uniform.
Drop dough into 2 tbsp sized balls onto prepared baking sheet, leaving about 2 inches between each ball to allow for spread.
Bake for 10-12 minutes, until cakes spring back when lightly pressed.
Cool on the baking sheet for 2-3 minutes, then transfer to a wire rack to cool completely.
When cooled, pair off the whoopie pies by size and fill each pair of cookies with raspberry cream cheese frosting.


Rasberry Cream Cheese Frosting

8 oz. cold cream cheese
3/4 cup room-temperature butter
1/2 cup rasberry jam
1 tsp vanilla
pinch of salt
2-3 drops red food coloring
3+ cups powdered sugar

Beat the crean cheese, butter and jam together in the electric mixer until its smooth.
Add the vanilla, salt and food cloring,
Mix until an even colored pink is reached.
Turn the mixer on low and add the powdered sugar a little at a time to avoid a sugar cloud.
Then turn the mixer up until the frosting is smooth.


18 Januar 2014

Cardmaking - Mood Board [Winter]


Hei and welcome back to my colorful blog! From now on I will show you every saturday my beautiful cards which I made with different paper collections, scraps and special card kits. I love making cards and I want to show you my ideas and tricks. There will be card sketches, mood boards, color schemes, step-by-step tutorials and more. So stay tuned!

Source: Pinterest
Today I will start with a mood board! I love mood boards lately. I wanted to have a winter feel to my cards as it is snowing here in Norway. We definitely have a real winter with cold but sunny weather, love that! I hope you like my mood board this month. I shopped my stash to pick some according papers and embellishments. 


In the end I didn`t use all my embellishments and stamps I chose, but that is ok for me, I will use my stuff next time. I made 8 big cards and 6 smaller ones. I searched the internet for some card ideas and I found some beautiful ones at the Studio Calico gallery. Thanks for all the inspiration, ladies! You are so talented!


I hope you like my cards! You can use my winter mood board or make your own one. Its up to you! Have fun!